New corals rarely die from the journey. They die from what happens in the twenty minutes after the bag is opened. A frag that has spent a night in a shipping box has been through temperature swings, a slow drop in oxygen and a steady rise in waste, and tipping it straight into reef parameters is a shock it may never quite shake off. Drip acclimatisation is not complicated, but it is deliberate. Here is how to do it properly — and when to skip it entirely.
What Drip Acclimatisation Actually Does
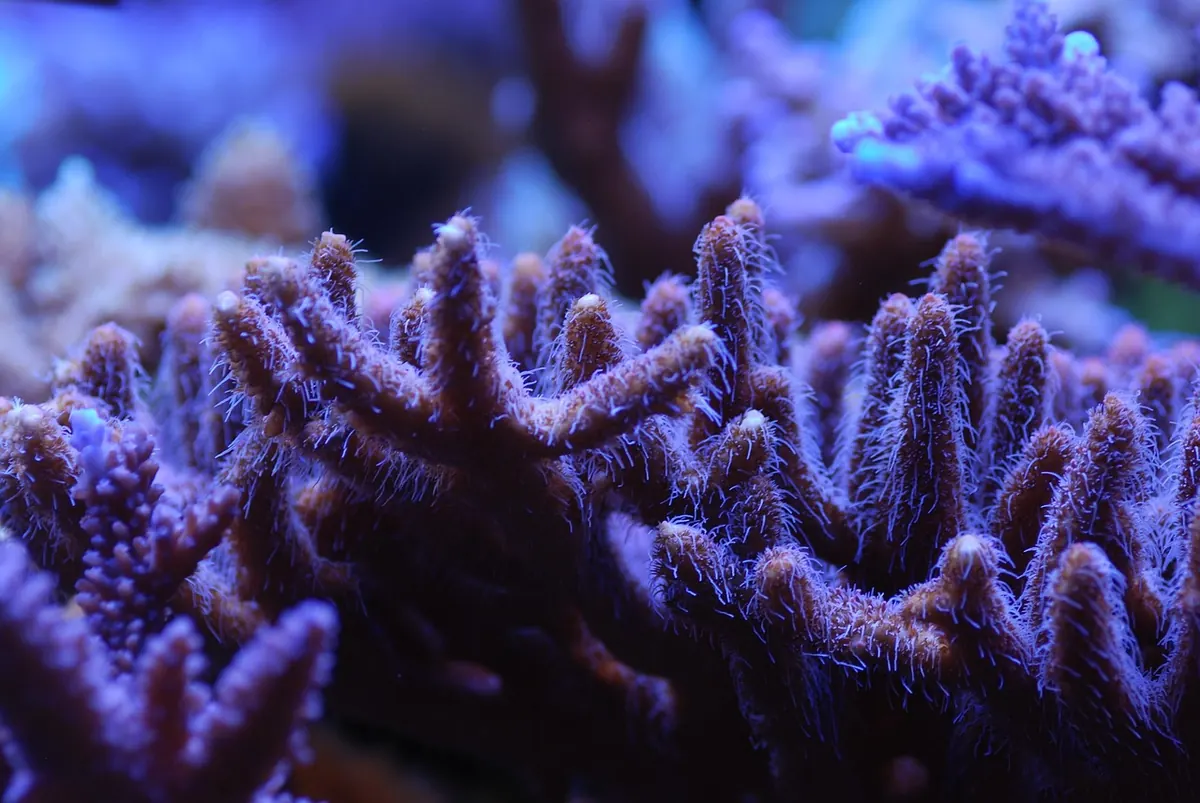
Corals are, for the most part, osmoconformers. They do not fight to hold their internal salinity steady the way fish do; their tissue water tends to match the water around them. A sudden shift in salinity therefore drags water into or out of their cells, and the thinner the tissue, the worse it copes. A leather coral might shrug it off. A thin-branched Acropora might strip within a day.
Temperature is the first and bluntest variable. Salinity is second. After that come pH and alkalinity, which shift slowly in a bag and are the reason a short drip is usually enough. Nutrient levels matter too — moving a coral out of water carrying a fair amount of nitrate into a tank running near zero is a change, but not one that needs two hours of dripping.
There is a limit, though. Once a shipping bag is opened, ammonia in that water becomes more toxic as the pH rises with exposure to air. Long, lazy drips that stretch past a couple of hours are not doing the coral any favours.
What You'll Need
Gather everything before you open the bag. A coral sitting in half a litre of water while you hunt for tubing is already losing.
- A clean bucket or container with at least three times the volume of water in the bag
- Airline tubing, ideally with a rigid piece of tube or a plastic clamp to control the flow
- A small heater and thermometer if the drip will run longer than 45 minutes
- A coral dip and a second container for dipping afterwards
- Long tweezers or tongs, plus gloves if you're handling zoanthids or palythoas
- A refractometer for checking the salinity of the bag water
- A phone timer
Step-by-Step: The Drip Method
- Float the bag first. Leave it sealed and floating in the tank, or in a container of tank water, for 15 to 20 minutes. This deals with the biggest temperature gap before you touch the water chemistry.
- Measure and compare. Check the temperature and salinity of the bag water against your tank. If salinity is within 0.001, your drip can be short. If it's more than 0.003 apart, plan for a longer, slower acclimatisation.
- Move the coral into the bucket. Pour the coral and its shipping water into the container, using just enough water to cover it.
- Start the siphon. Tie a loose knot in the airline or fit a clamp, prime it with a syringe or a small pump rather than by mouth — especially with zoanthids — and adjust to two or three drops per second.
- Keep it warm. If the drip runs beyond 45 minutes, add a small heater set to tank temperature and keep the bucket out of draughts.
- Double or triple the volume. Aim to finish with at least twice, ideally three times, the starting volume of water.
- Stop, lift, discard. Turn off the siphon, lift the coral out with tweezers or a net, and pour the acclimatisation water away. Never tip it into the tank.
- Dip, rinse, place. Give the coral its dip following the product instructions, rinse it in tank water, then position it.
Timing: How Long Is Long Enough?
For most corals arriving from a local shop or a well-packed overnight delivery, 45 to 60 minutes at two or three drops per second is plenty. Soft corals and LPS often settle with 30 to 45 minutes. SPS, particularly thinly tissued frags, benefit from a slower approach: 60 to 90 minutes.
Match temperature first, then chemistry. Rushing the first is what kills corals; rushing the second mostly just irritates them.
Beyond about two hours you are gaining very little and adding risk — falling temperature, rising ammonia, and a stressed coral sitting in a small volume of deteriorating water.
Signs of Stress to Watch For
- Retracted polyps during the drip are normal. Polyps still fully closed an hour after placement are worth watching.
- Heavy slime production suggests the coral is unhappy with the water or the handling.
- Receding tissue at the base, where the frag meets the plug, is the clearest early warning sign.
- Bleaching — tissue turning pale or translucent — usually points to light or temperature shock rather than salinity.
- A foul smell from the bag water means the coral has been stressed, or dead, for some time. Dip it, place it somewhere with gentle flow, and expect the worst.
When Not to Drip Acclimatise
Plenty of corals arrive damp rather than submerged — SPS frags, zoanthid plugs and some LPS shipped on foam or damp paper. There is no bag water to dilute, so a drip achieves nothing. Temperature match the container, dip the coral, and place it.
If the shipping water is cloudy, smells bad, or the coral is already stripped, skip the drip as well. Moving it quickly into clean, well-oxygenated water is kinder than an hour in a bag of waste.
After the Drip: The First Week
Place new corals low in the tank and off to one side, where the light is softer and the flow is moderate. Leave them there for several days, then move them gradually towards their intended spot over a week or two. Full-intensity lighting from day one is a common reason a healthy frag declines.
Then keep your hands out. Every adjustment — a nudge here, a re-glue there — costs the coral energy it should be spending on settling in.
The Short Version
Float for 15 to 20 minutes. Check the salinity. Drip at two or three drops per second for 45 to 90 minutes. Lift the coral out, bin the water, dip it, rinse it, place it low, and leave it alone. That routine handles the vast majority of corals you will buy, and it costs you an hour of waiting rather than a replacement frag.
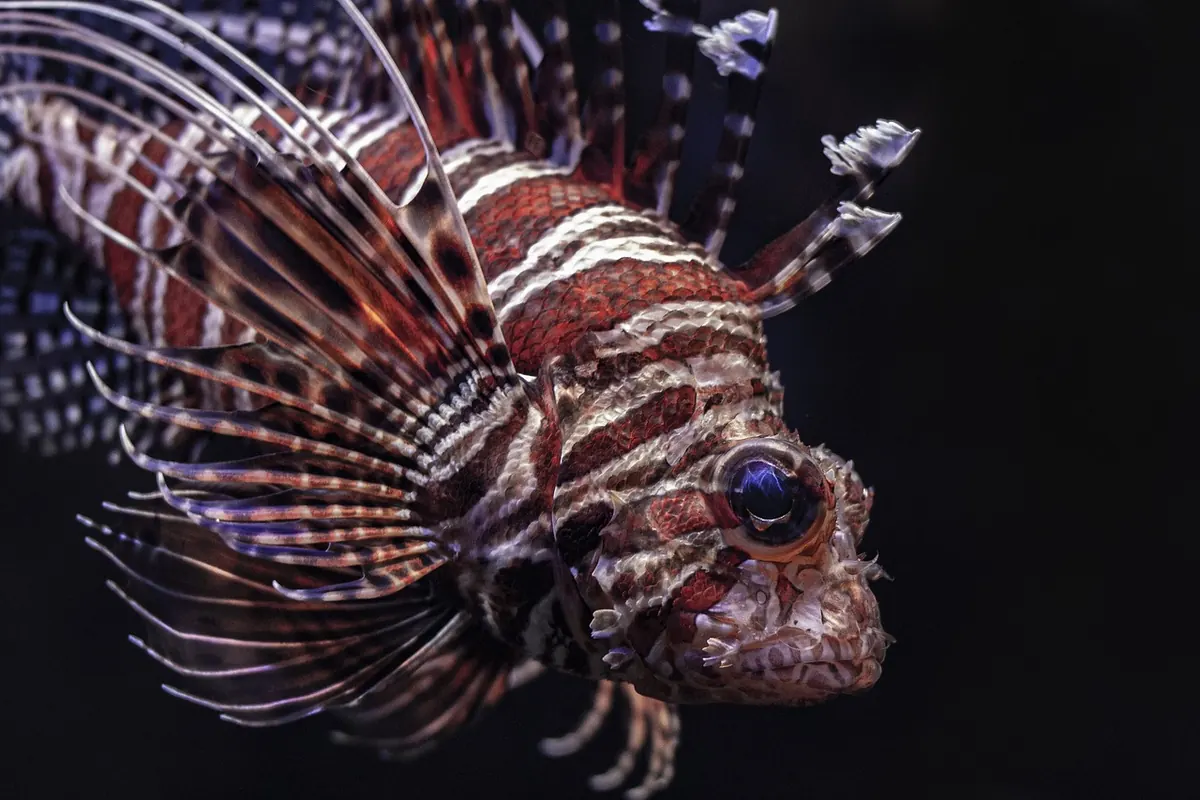
Photo: usefoto / Pixabay